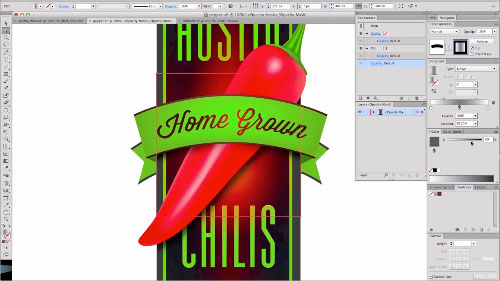
Reviewing Adobe Illustrator’s Extensive Gradients Toolset
While vector based artwork lets designers take advantage of small file sizes and lossless scaling it can also be limiting when trying to add depth and richness to a design. Adobe Illustrator offers a plethora of gradient tools that can help artist produce more organic and vivid pieces.

This extended video tutorial covers a wide variety of topics including basic gradient tools (0:30), the appearance pannel and multiple gradient fill layers (2:30), creating gradients with the blending tool (3:45), gradient strokes (6:30), gradient mesh (7:45), using gradients with type (14:00), wrapping gradients with envelope distort (16:30), and using opacity masks.
Highlights And Takeaways:
- Use the gradient tool (from the tool palette) rather then the gradient window to edit your gradients within the context of the object.
- Gradients can have several sliders each of which has its own opacity.
- The appearance window lets you add multiple gradient fills and strokes to a single object.
- Every fill or stroke applied to an object can have a unique opacity and blending mode, and each stroke can have a different line weight.
- Gradient strokes can be applied within, along, or across an object’s stroke for a variety of effects.
- Use the blend tool (set to smooth color) to create gradients that align more closely to complex or organic shapes.
- The gradient mesh tool is great for developing complex vectors that can be used to illustrate organic shapes, but they can also be hard to work with pretty quickly. To avoid frustration, start with the basic shape (like a circle) that most clearly matches the object you want to illustrate and try to shape it to match before adding additional points.
- When creating a gradient mesh, be sure to set the fill for your base shape to the most prevalent color on the object you are trying to illustrate.
- When using an image for reference, make the image layer a template. This will allow you to switch to outline mode without hiding the image.
- You can use the envelope distort command to bend rectilinear gradient shapes into natural curves.
- Gradient opacity masks let you fade the opacity of an object (or group) to create natural blends.
Please feel free to add your favorite gradient tips and tricks!
Further Reading
- 40 Excellent Adobe Illustrator Tutorials
- An In-Depth Study Of Symbols In Illustrator CS5
- 35 Excellent Adobe Illustrator Video Tutorials
- Inspiring Illustrator Artworks By Artists Around The World


 See User Testing Live
 Custom Web Forms for Angular, React, & Vue. Your backend.
 Celebrating 10 million developers


