Pen Tool Vs. Live Trace: The Big Comparison
In this tutorial, I will teach you how to work digitally on an image you draw by hand. You will learn two entirely different ways to work with the illustration: through the Live Trace Tool and the Pen Tool. Two ways, two results. Learn how to take the best from both.
Along the way, I will give you some Photoshop tips, too. The first thing you’ll need to know is how to manage your drawing in Photoshop and which are the best ways to prepare it for Illustrator. If you are not comfortable drawing in Photoshop, don’t worry! You can download my drawing in high-resolution, skip the Photoshop step and go straight to step 2 to begin with Illustrator.
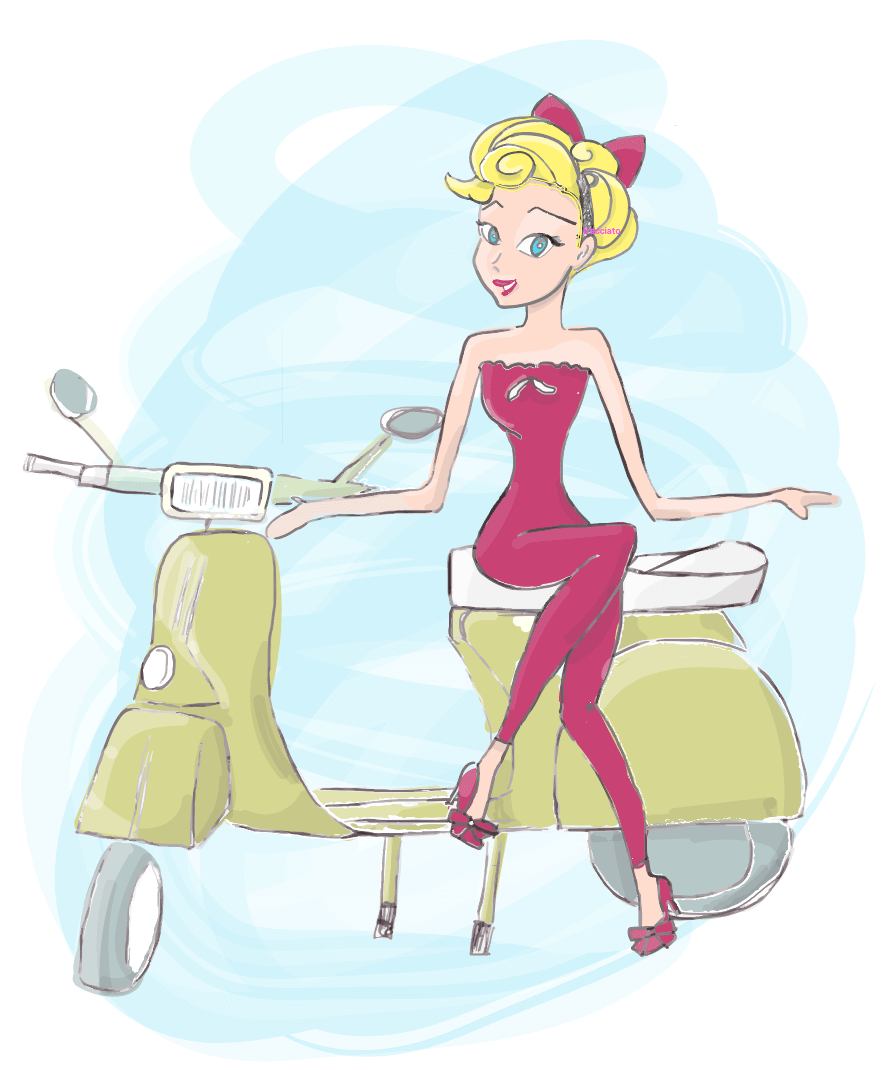
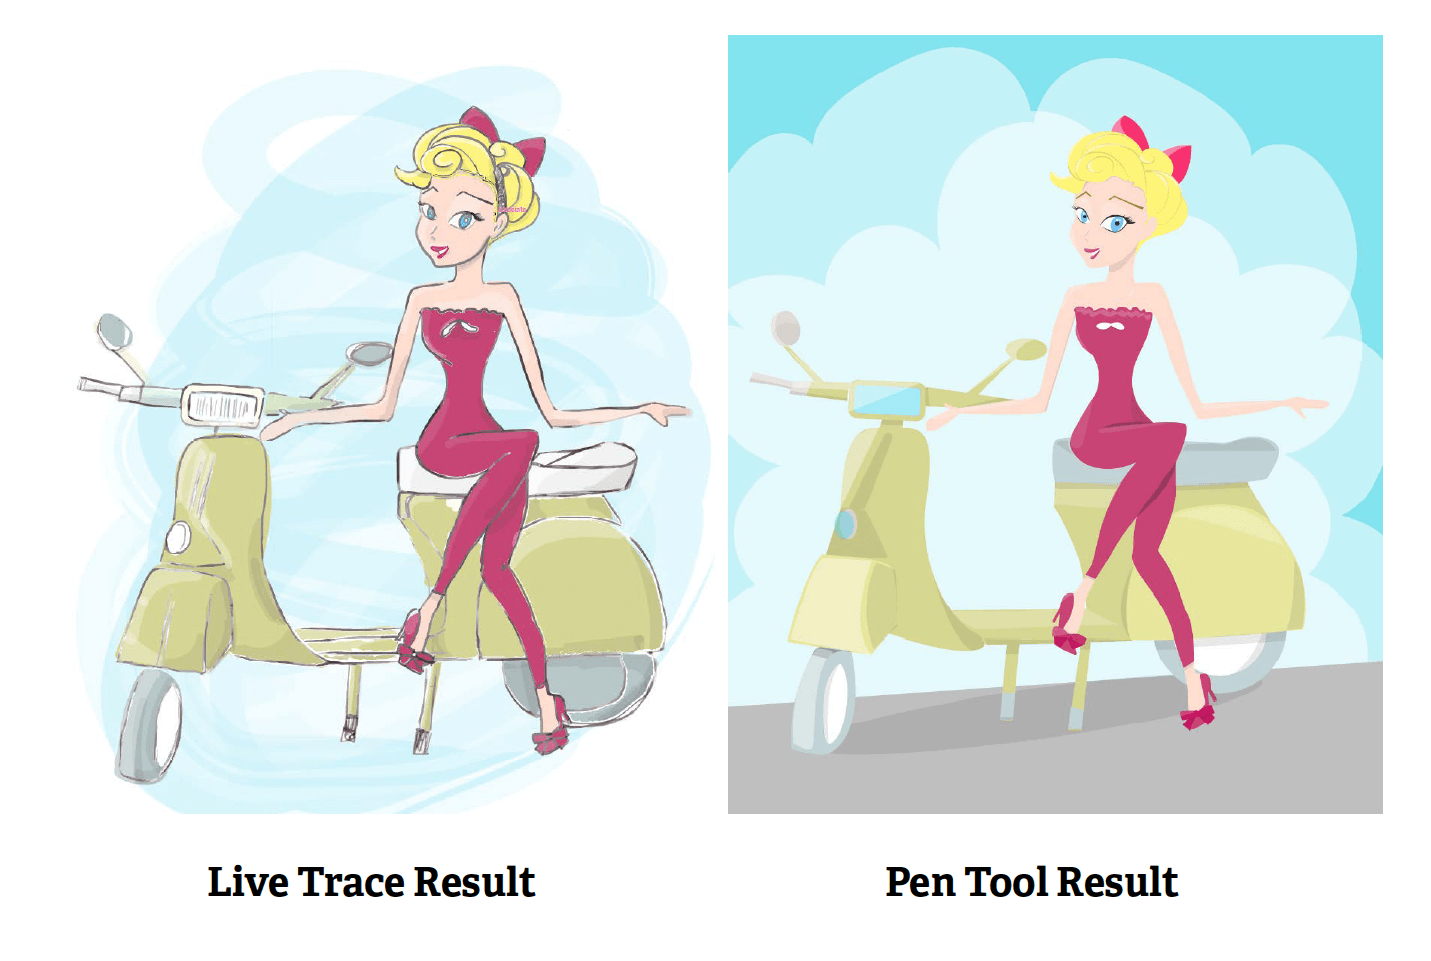
So then, let’s get started. Here is how the two different results will look like:

Part I: Live Trace
Step 1: Prepare Your Image
When you plan to draw something digitally, you may want to follow these steps. This tutorial is mainly about illustrating in Illustrator. Therefore, I will give you some basic advice about how to draw in Photoshop so that you can use our image in Illustrator later on.
- Decide which tool you want to use to draw. You can do this by hand if you feel comfortable, or you can decide to use a digital tool. I used Photoshop for this step, but normally, I draw by hand.
- Create a new file. I choose an A3 size, so I have enough space to draw details by resizing my image.
- I traced my mannequin with a normal Photoshop brush with
20pxand a hardness of0%. I know, it looks horrible, but I promise it will get better.
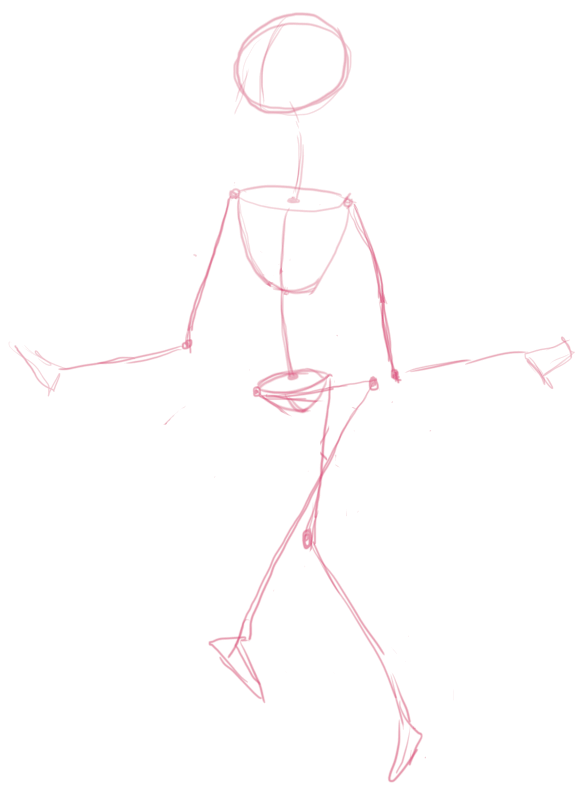
First, you create a layer named “Mannequin” and place your mannequin on it. Add a new layer (CTRL+N) and name it “Pinup”. Begin to draw. You are free to decide if you want to create a separate layer for every body part. I drew the face on one layer and the hair on a separate layer, for instance.
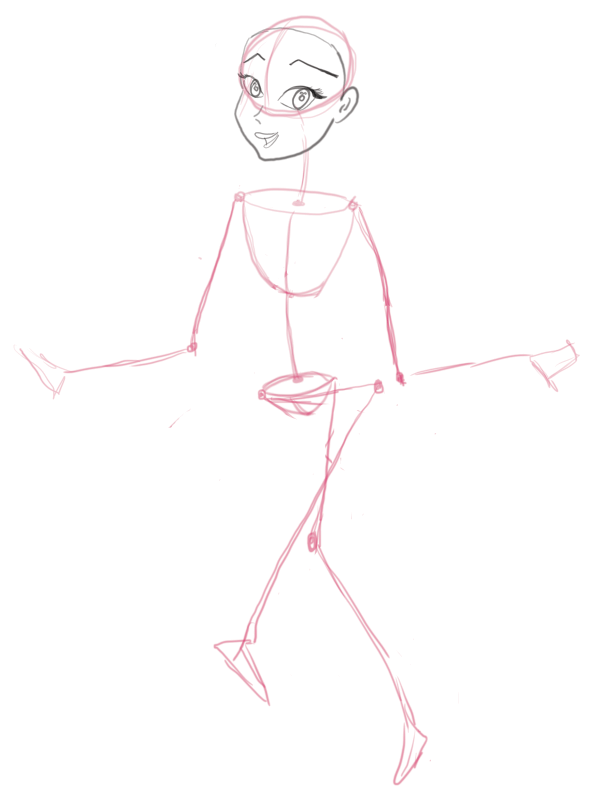
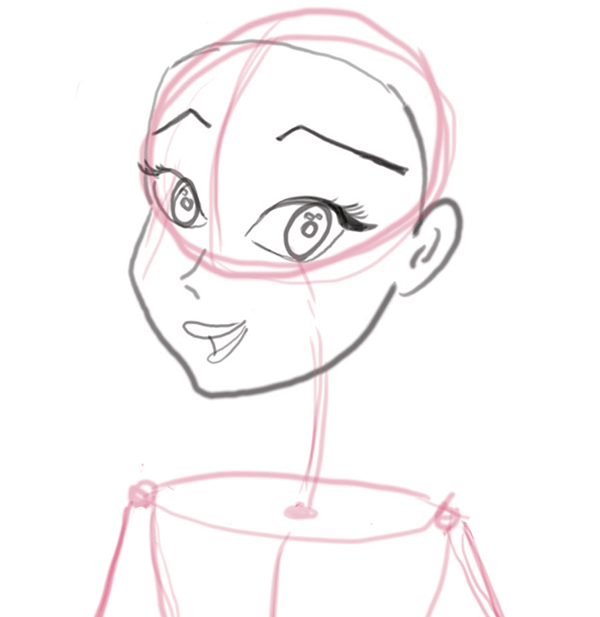
Go on until you complete the body. As you see, it is still quite a rough sketch. Don’t worry about it. We will clean up our design later on.
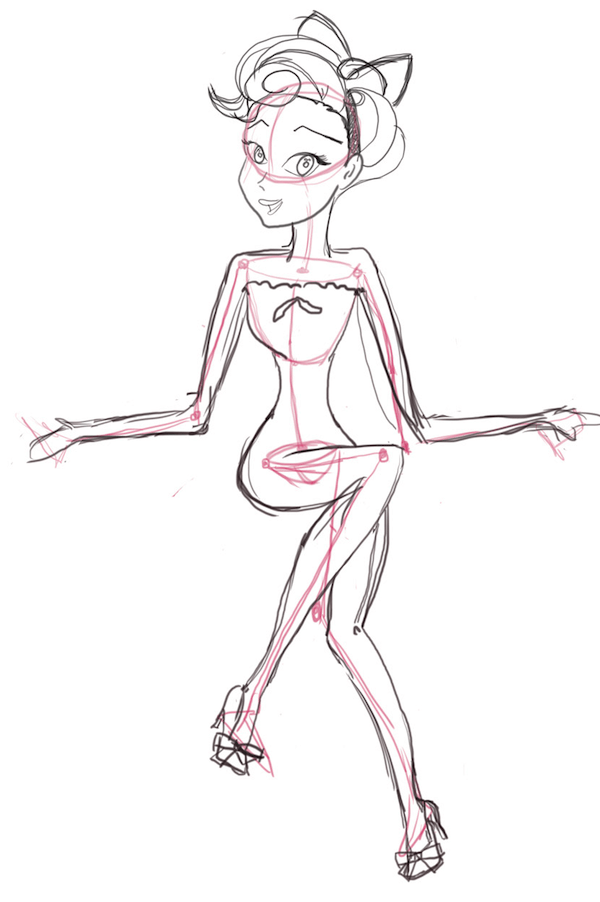
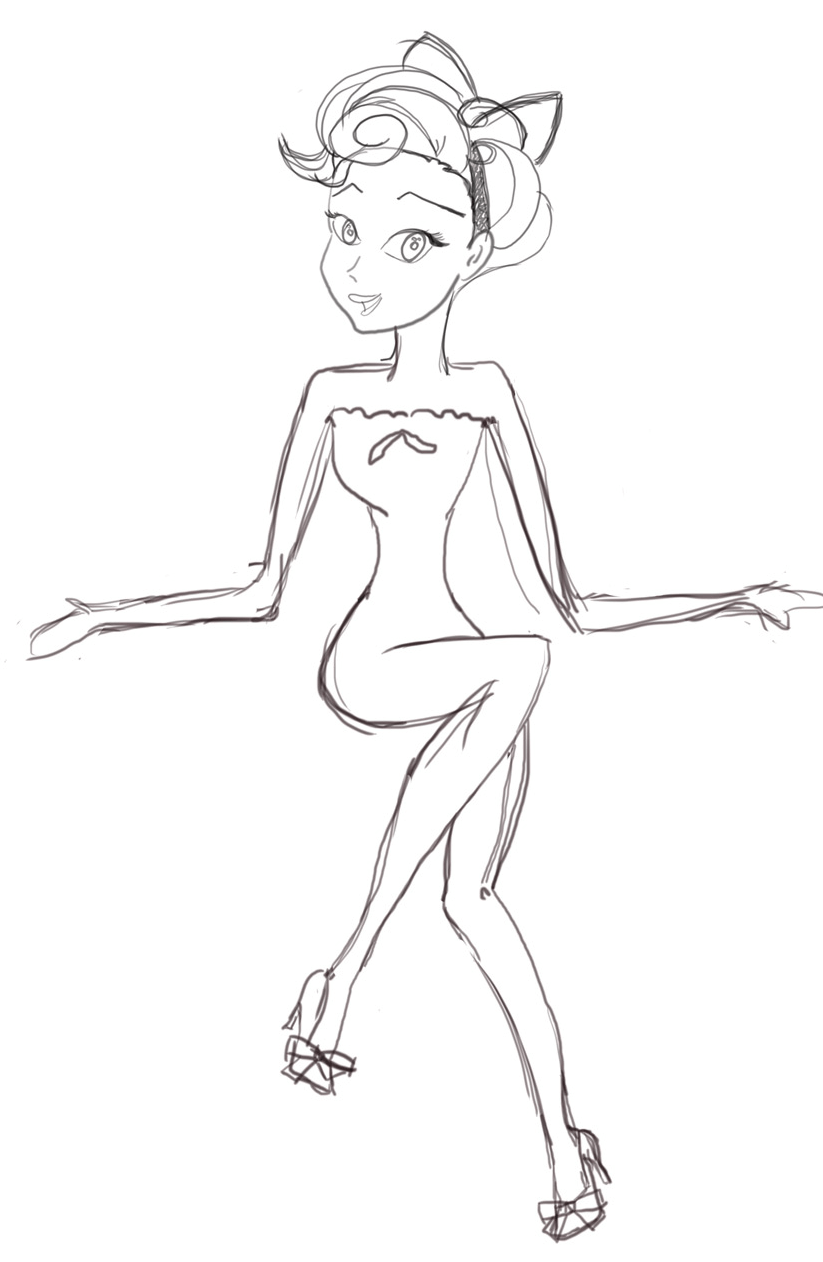
When you’ve finished your sketch, hide the “Mannequin” layer. Now you begin to see your work more clearly.
Now we need a Vespa for your pinup to sit on. Create a new file and begin to draw it.
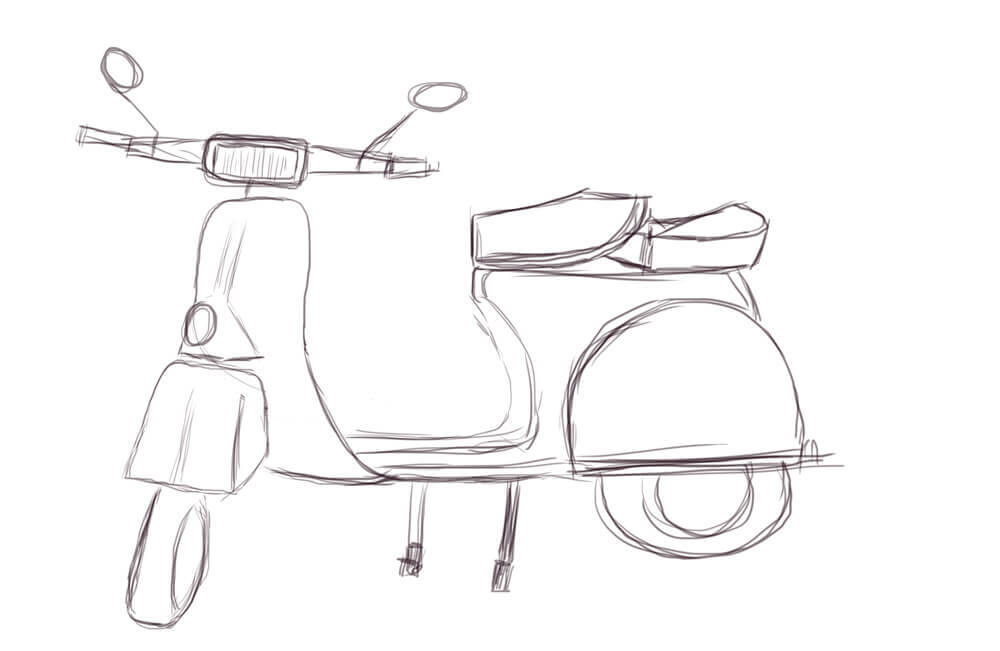
The reason I create a new file for the Vespa is because this way you can drag the finished Vespa on the image with the pinup. You are free to modify, resize and put your Vespa exactly where you need it. But keep in mind to place the “Vespa” layer under the “Pinup” layer.
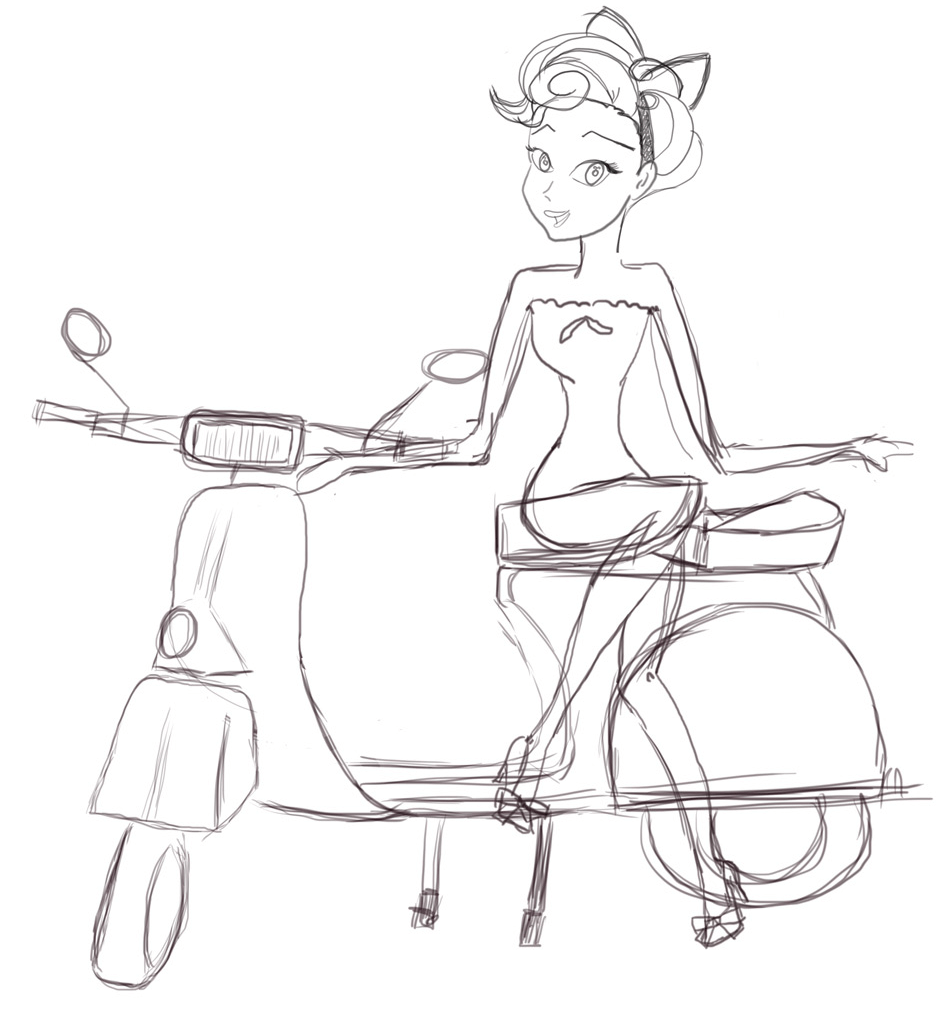
Let’s take a closer look at my layers in Photoshop: I positioned the Vespa at the bottom, just above the background. Then we have the “Mannequin” layer, body, face, hair and ribbon layers stacked on top of it.
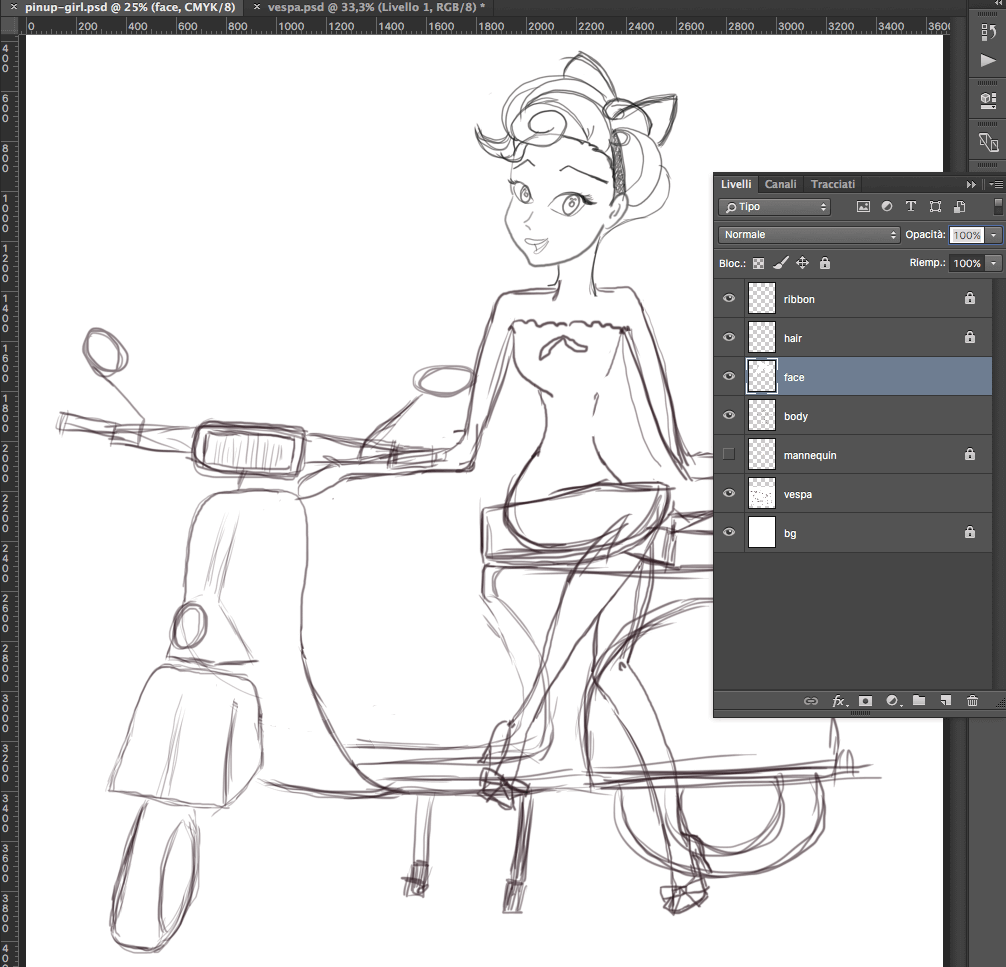
Now let’s clean up our drawing, before we trace it in Illustrator. Take care of this step. The cleaner your drawing is, the better your Live Trace result will be in Illustrator.
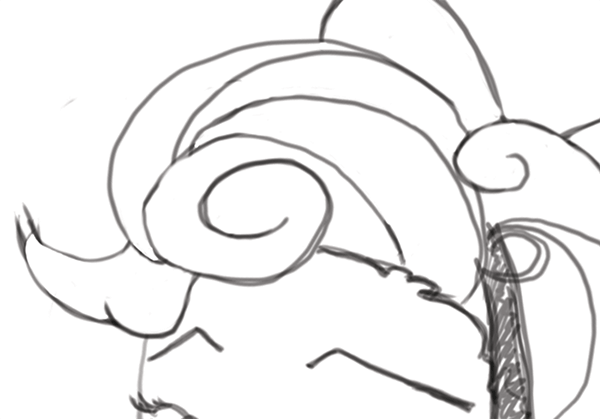
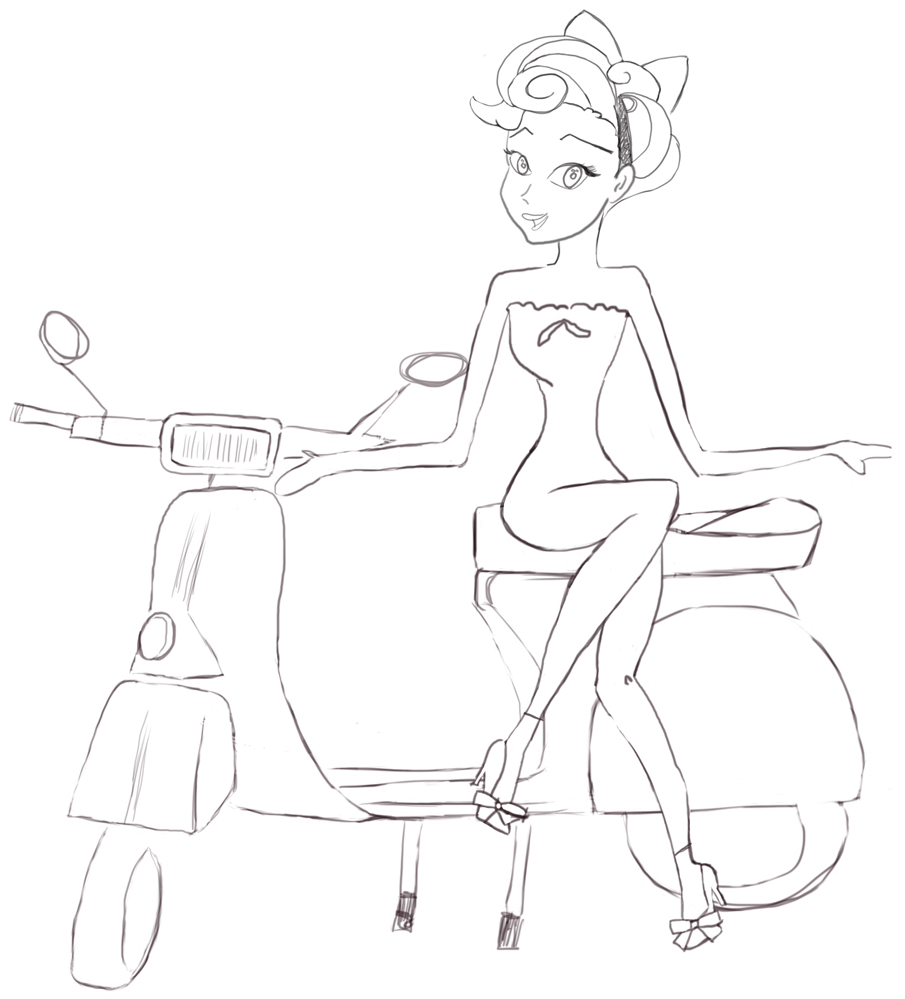
We are now finished in Photoshop. Go to Save → Save for Web, and choose JPEG as output, with “Quality = 100” and the original dimensions (mine are 3668×4362).
Now, let’s get the party started!
Step 2: Live Trace In Action
Transform Your Drawing To A Vector
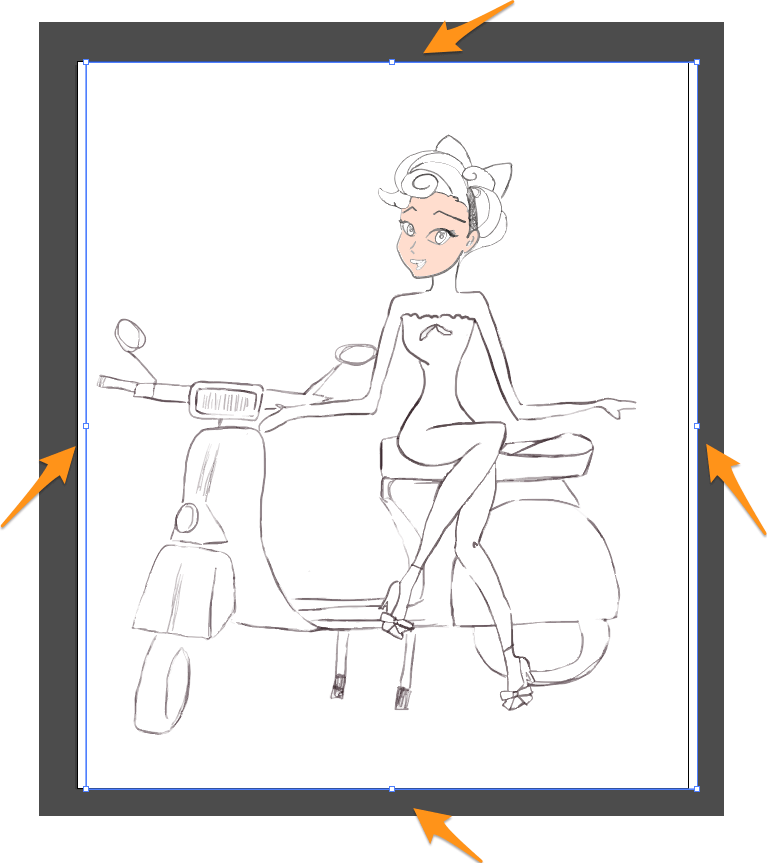
Open Adobe Illustrator and insert your image by selecting File → Place. Now we need to resize our artboard. To do so, go to Object → Artboards → Fit to Artwork Bounds.
Note: Save your file as an AI file twice. We will use the second version later with the Pen Tool.
Now is the moment to use Live Trace to vectorize the file we just imported. Select your image. The Image Trace bar will appear at the top:

Click on “Image Trace”. If you don’t see this button, go to Window → Image Trace.

In the Image Trace panel window select:
- Preset: High Fidelity Photo (I’m using HFP because I want a hand-traced effect in my design.)
- View: Tracing Result
- Mode: Color
- Palette: Full Tone
- Color:
85 - Paths:
50%(This value helps to have more lines traced.) - Corners:
50%(A lower value helps you to have more curved lines.) - Noise:
10%(Setting Noise to10%helps you get a cleaner line.)
If you don’t see all options, click on “Advanced“.
What you get is this result. It’s already incredibly close to our drawing:
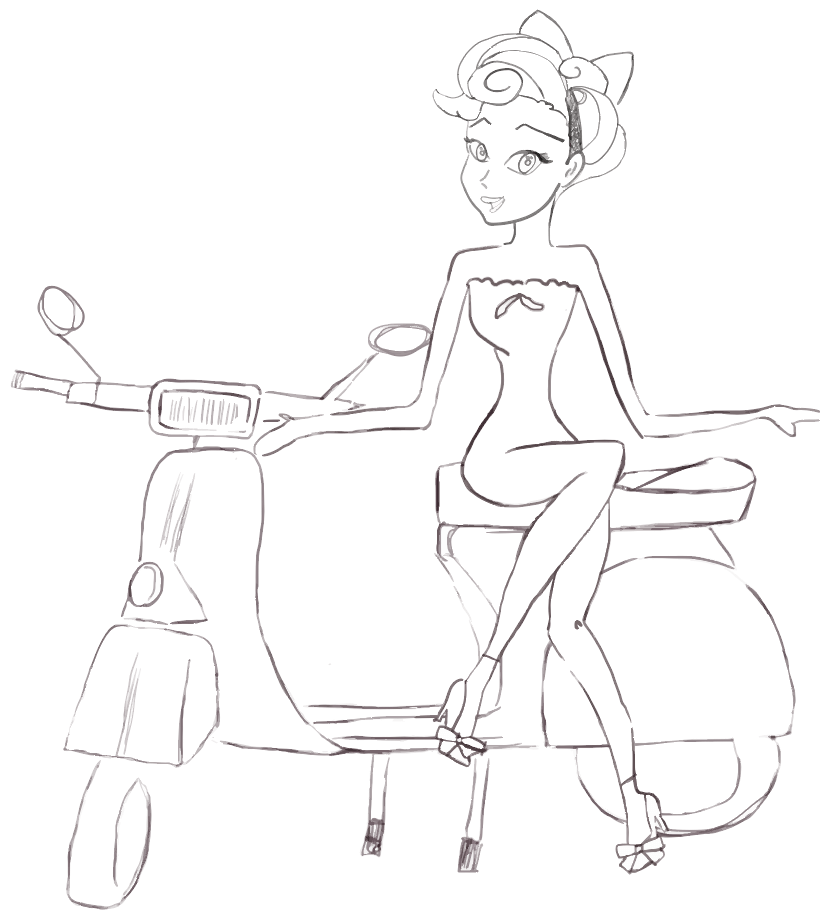
If you set your drawing to Black and White mode, your lines will be more defined and black. That’s why we put “Colors” to 220: it helps us decide how many pixel will be converted to black.
- Preset: Custom
- View: Tracing Result
- Mode: Black and White
- Palette: –
- Colors:
220 - Paths:
81% - Corners:
25% - Noise:
2%
As before, if you don’t see all options, click on “Advanced.”
Note: Make sure to check “Ignore White” in your panel. By choosing this option, your lines will be traced, while the fill color remains transparent.
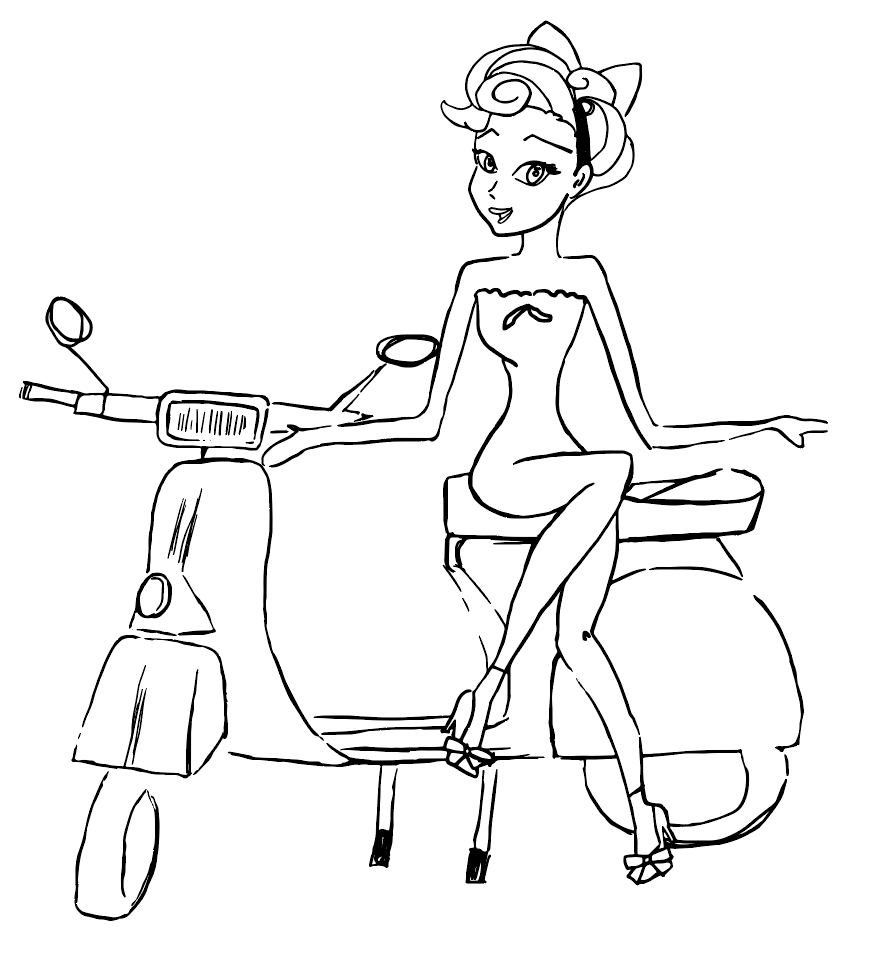
Differences Between The Two Results
- The result we obtained through “High Fidelity Photo” tracing is clean, elegant and closer to my drawing. It still looks hand-drawn and not as a vector. I always try to get a result that is as close to my hand-drawn design as possible.
- The result we obtained through “Black and White” tracing has a more cartoony look. Perfect when you draw cartoons or comic strips.
Now, choose your style and click on the “Expand” button in the Image Trace bar or go to Object → Expand.
Step 3: Live Trace Colors
I will continue with the graphic I obtained through “High Fidelity Photo” tracing. I want to keep my drawing romantic vintage in a way, so I prefer the lines to be clean and light.
Now let’s go and see how to color our artwork. First of all, we need a palette.
Go to Adobe Color CC and search for “Vintage Pastel”. If you use Adobe CC, you will be able to save a palette and find it directly in your Colors Panel.
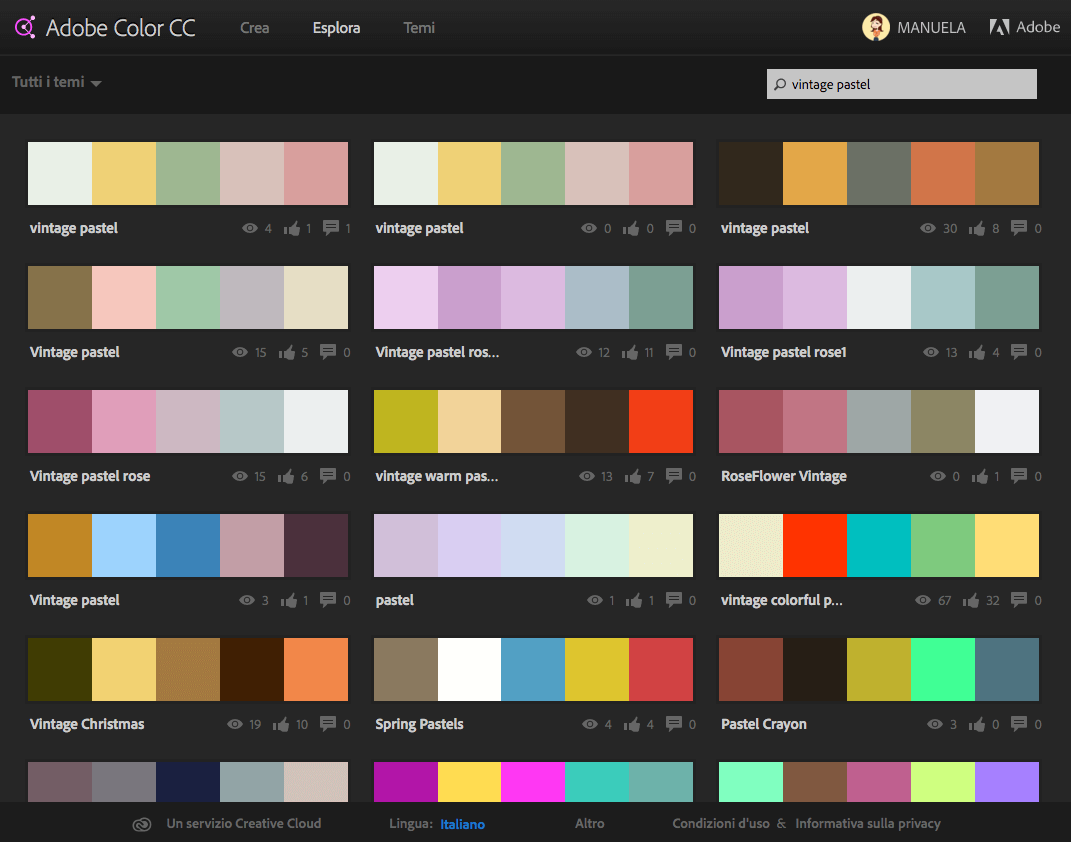
Choose your palette colors and hover over it with your mouse. Some options will appear, one of them is “Save”. Click on it. Now you will be able to see your palette in “Libraries”.
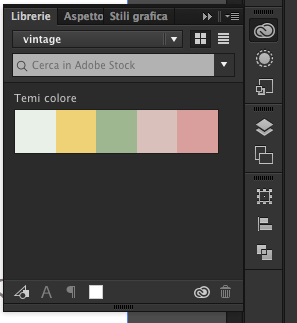
Grab the Direct Selection Tool (A). If you click on the face of our pinup, you will see that it is filled with white since we didn’t check the “Ignore White” option in this case.
Take your Paint Bucket Tool (K), set the color to #FFDDCE and click on the face. This is the color of her skin, so go on and color all her skin pieces.
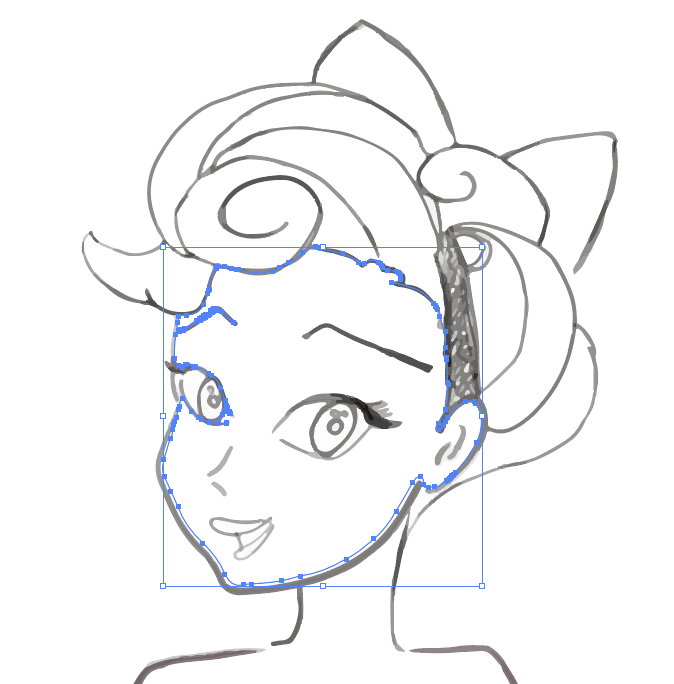
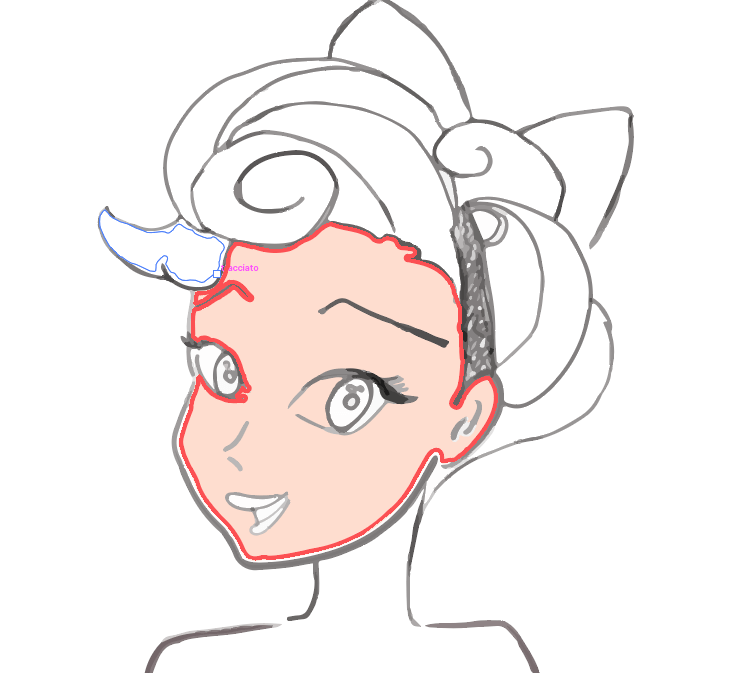
If you cannot use the Paint Bucket Tool (K) because some pieces are missing, just create them with the Blob Brush Tool (Shift+B). Grab it, set the color to #FFDDCE and fill the skin area.
Tip 1: Create another layer, under the one with our Live Trace result and name it “Colors”. This way you will be able to color under the path, without touching it.
Tip 2: Make sure to delete the white background you have on your artboard. It results from Live Tracing and is positioned under all layers. (As already mentioned, this is caused by the fact that we didn’t check the “Ignore White” option.) Delete this layer, as you see in the image below.
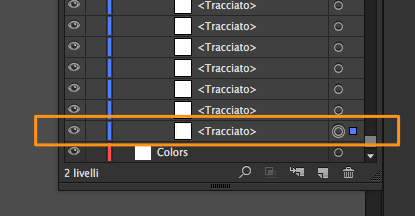
Now you are free to color with the Paint Bucket Tool (K).
If you find some parts filled with white in your work, you can color them directly by selecting them and changing the color, or just delete them and use your Paint Bucket Tool (K) as I do.
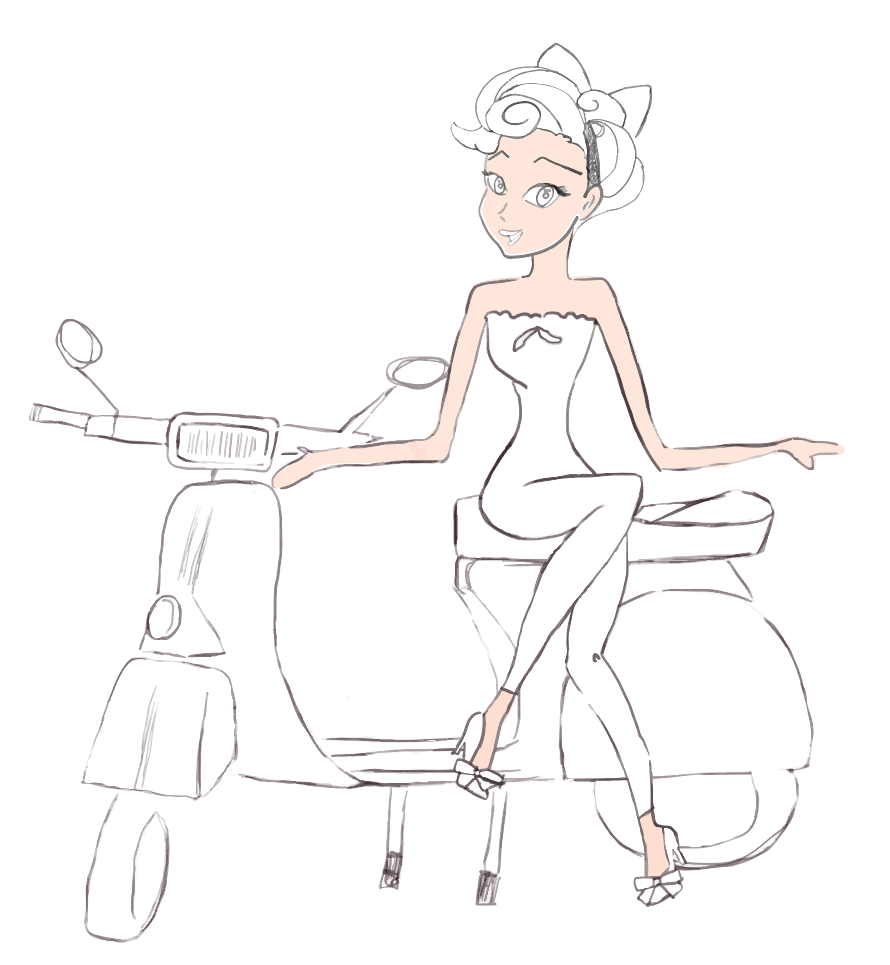
Go on like this and color your artwork completely, referring to the palette we created before. This is my result so far:
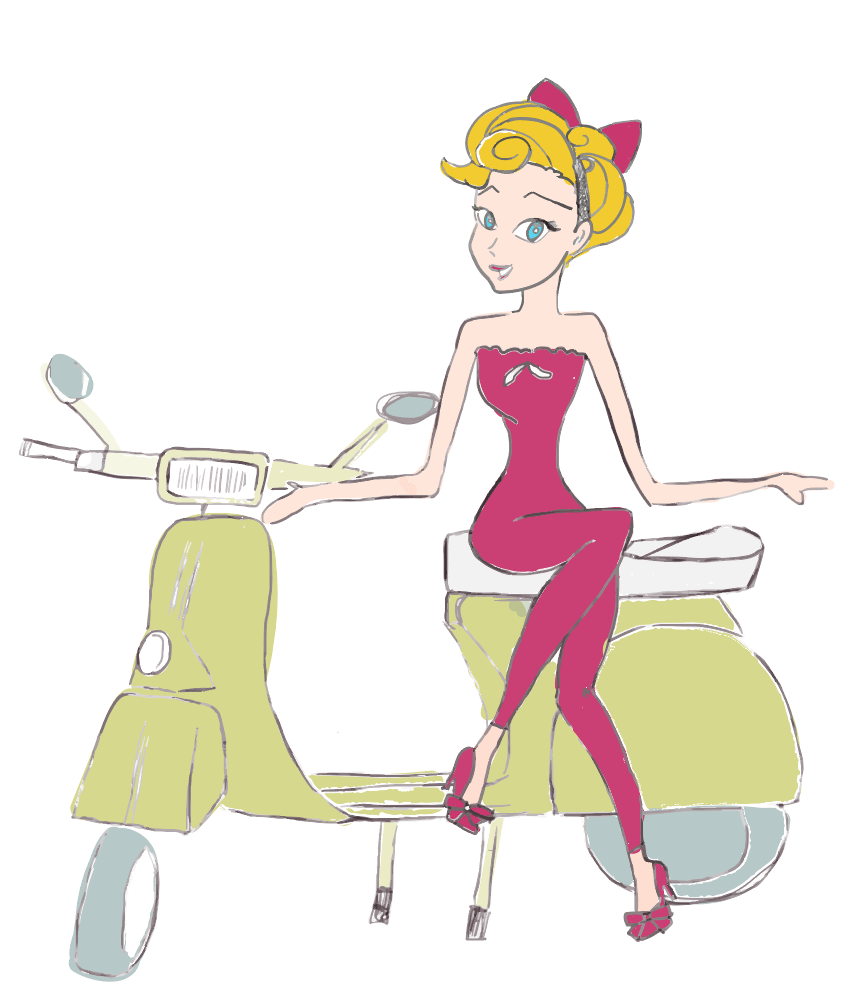
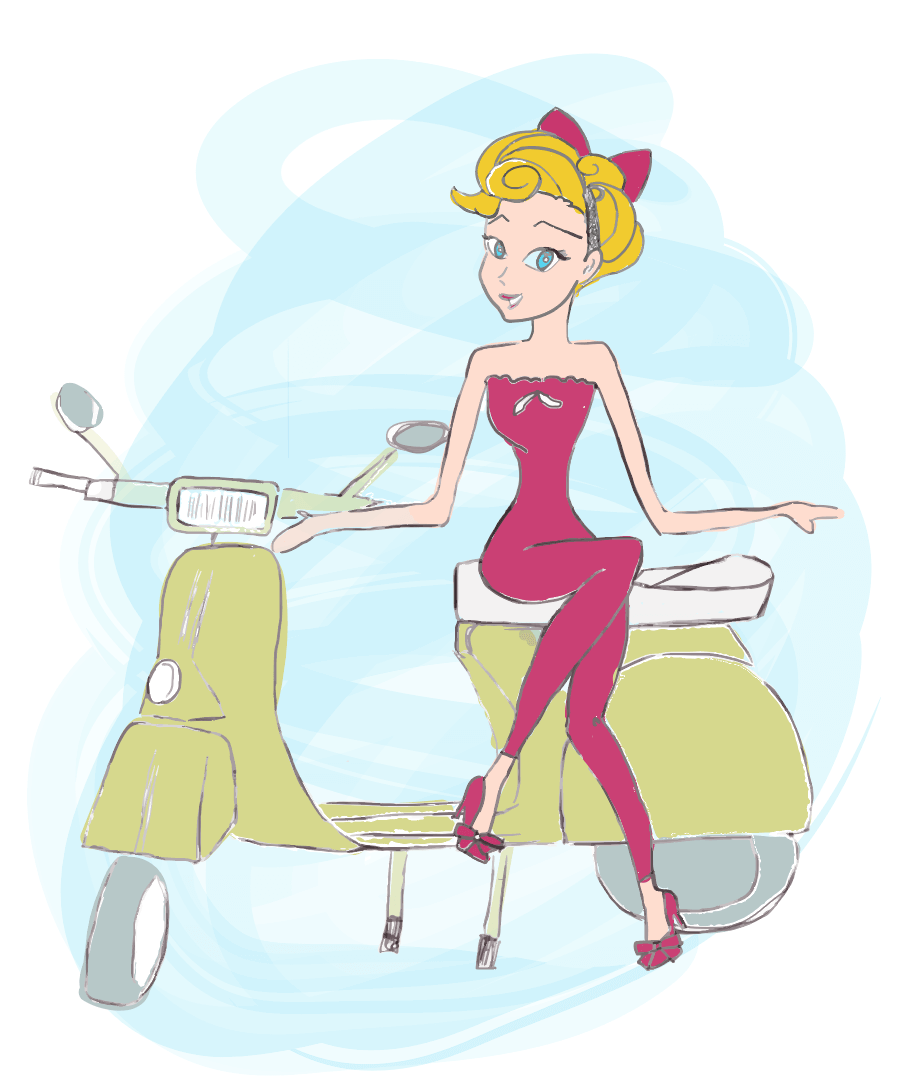
Create another layer under the “Colors” layer and name it “Background”. Take the Brush Tool (B), set #52D5F2 as a color. Now go into your Brushes panel and look for Artistic → Artistic Paintbrush. Take two different brushes of your choice, set them to “Multiply” in the Appearance panel and use one on the other. Look at my image:
Step 4: Lights And Shadows
Now that we completed the coloring step, let’s add some lights and shadows to our design.
To do so, create another layer above the “Colors” one, and name it “Lights”.
Grab the Blob Brush Tool (Shift+B) and add some light to the face and hair, setting the color to #ffffff and opacity to 30% for the face and 50% for the hair.
After that, we need to add some shadows. Create another layer under the “Lights” layer and name it “Shadows”. Grab your Blob Brush Tool (Shift+B) again and set the color to #474143, opacity to 10%.
You should have a result similar to this:
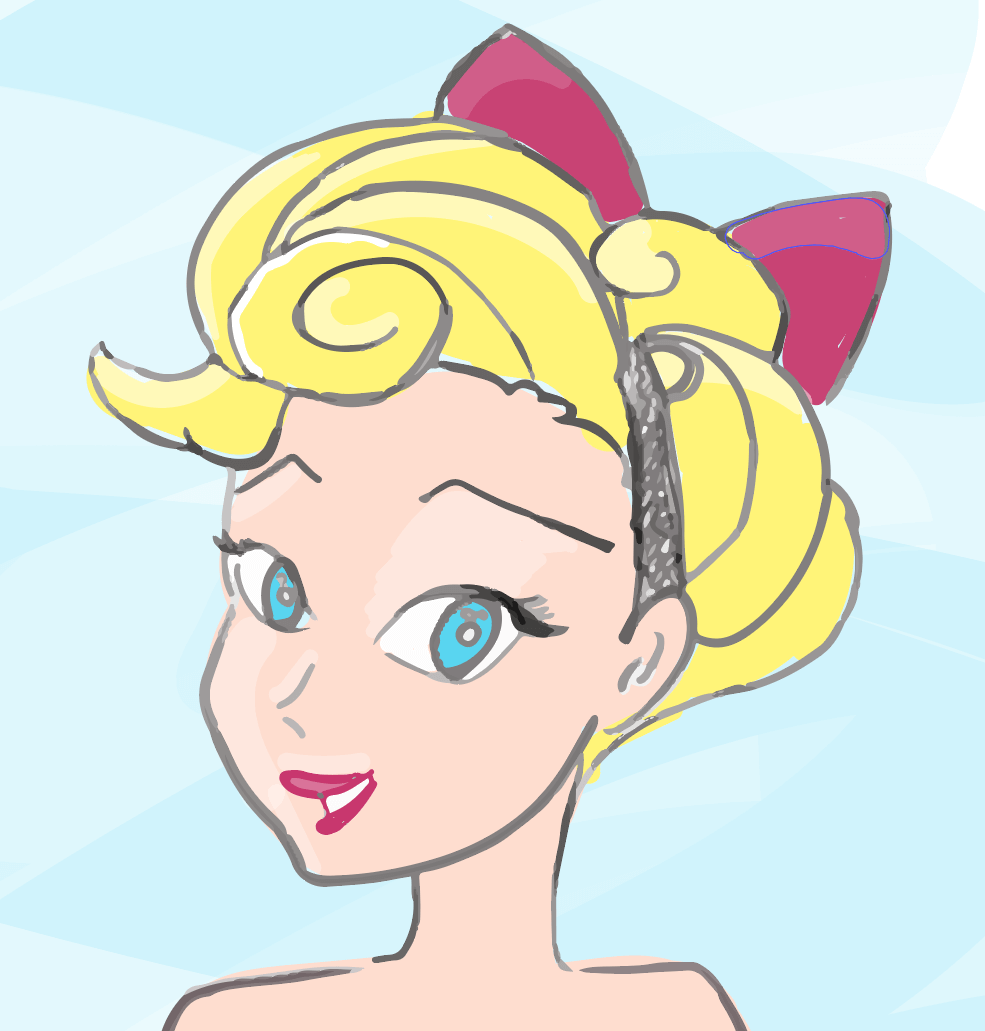
Go on and add light and shadow effects to the entire design. If you like, you can do it the way I did it:
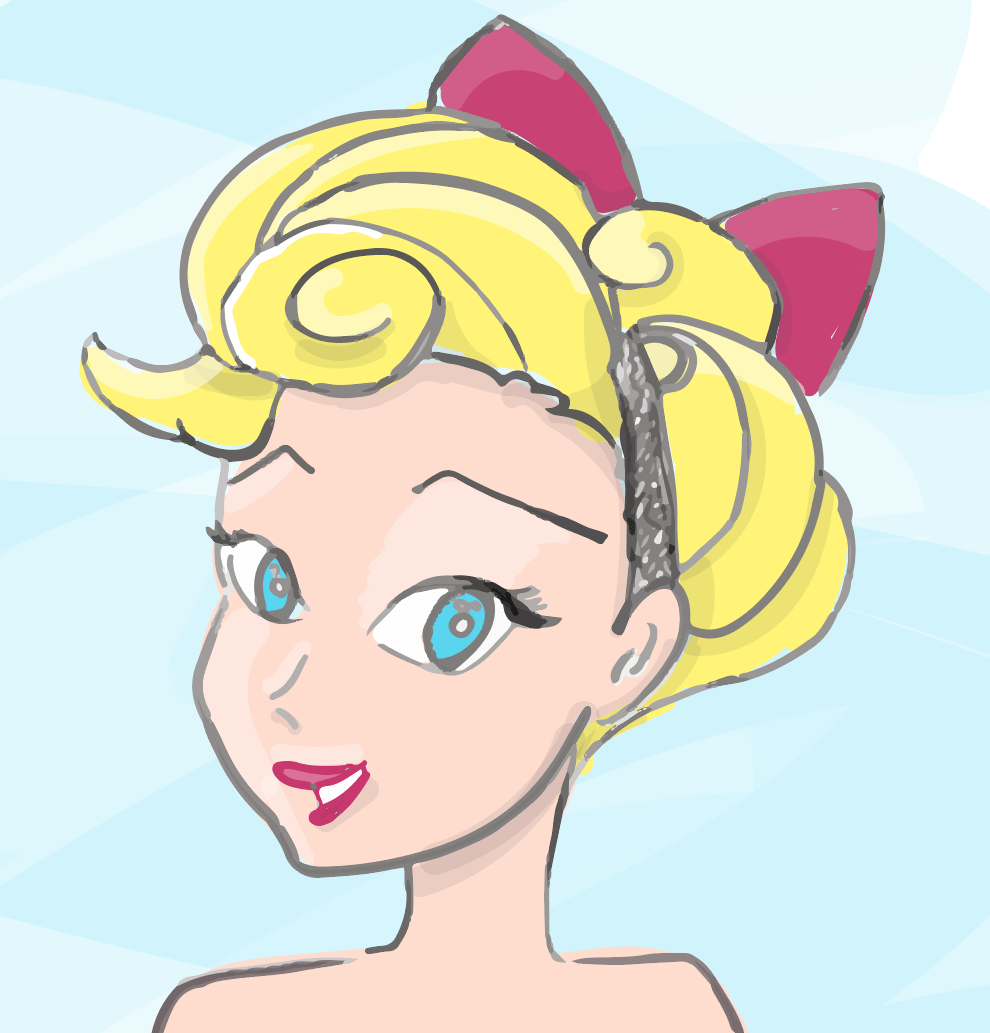
We are now done with the Live Trace and coloring steps! Take a break, and then we will begin with the Pen Tool.

Part II: Pen Tool
Here we are!
First of all, we have to convert our drawing to a vector again, this time using the Pen Tool (P).
I prefer to show you how I do this in a mini-series video. This way you can see how I use the Pen Tool and everything you can do by creating and building vector art.
Let’s go then! Create a new Illustrator file and insert our sketch. Block its layer, create another layer above the rest and name it “Pen Tracing”. Go to Object → Artboards → Fit to Artwork Bounds.
In this step, almost everything you will see is done with the Pen Tool. I strongly recommend you to practice with this tool because you will be free to do everything in Illustrator.
I provided some videos to show you how I vectorize my image.
The first video is complete with instructions, showing up while you watch it. The second video is a bit quicker because most of the movements and tips are the same, so if I find something interesting to explain, I will freeze the video.
One more important thing: I use a tablet, a Wacom Intuos Manga. You will be able to do the same work with your mouse, but I think hand movement is so quick with a pen, you cannot feel the same with a mouse.
During the video I explain my vectorizing process, my errors, and solutions. You will see me using CTRL+Z (delete your last action) over and over.
Now let’s see how it works:
- The first video shows how to trace the head of the pinup.
- The second video covers tracing her body and the Vespa.
This is the result:

And here are our two works together, from the first and the second tutorial. Which one do you prefer?
Conclusion
You will now be able to distinguish how Illustrator works with Live Trace and with the Pen Tool. Two different results from the same image, the first close to hand-drawing, the second more of a cartoon style.
We have seen how Live Trace works and how to use it to get different styles of tracing. The Pen Tool requires a bit of practice, but once you master it, you will be able to do everything with it.
If you are new to Illustrator and want to learn more, take a look at the Illustrator Manifesto I created. It’s an infographic that includes the most important functions of this awesome tool.
I hope you enjoyed this tutorial. If you have any questions, feel free to let me know in the comments.
Further Reading
- How I Mixed Up Illustration: Combining Analog And Digital Techniques
- Beautiful Photoshop Illustrations By Artists Around The World
- Illustrating Animals With 13 Circles: A Tutorial And Drawing Challenge
- Meet Penpot, An Open-Source Design Platform Made For Designers And Developers Alike


 SurveyJS: White-Label Survey Solution for Your JS App
 Register Free Now
 Celebrating 10 million developers


