Automating Art Direction With The Responsive Image Breakpoints Generator
Cloudinary built a tool that implements this idea, and the response from the community was universal: “Great! Now, what else can it do?” Today, we have an answer: art direction!
Since its release earlier this year, the Responsive Image Breakpoints Generator has been turning high-resolution originals into responsive <img>s with sensible srcsets at the push of a button. Today, we’re launching version 2, which allows you to pair layout breakpoints with aspect ratios, and generate art-directed <picture> markup, with smart-cropped image resources to match.
Recommended reading: Responsive Images Done Right: A Guide To
Responsive Image Breakpoints: Asked And Answered
Why did we build this tool in the first place?
Responsive images send different people different resources, each tailored to their particular context; a responsive image is an image that adapts. That adaptation can happen along a number of different axes. Most of the time, most developers only need adaptive resolution — we want to send high-resolution images to large viewports and/or high-density displays, and lower-resolution images to everybody else. Jason’s question about responsive image breakpoints concerns this sort of adaptation.
When we’re crafting images that adapt to various resolutions, we need to generate a range of different-sized resources. We need to pick a maximum resolution, a minimum resolution and (here’s the tricky bit) some sizes in between. The maximum and minimum can be figured out based on the page’s layout and some reasonable assumptions about devices. But when developers began implementing responsive images, it wasn’t at all clear how to size the in-betweens. Some people picked a fixed-step size between image widths:

srcset resources that use a fixed-step-size strategy.Others picked a fixed number of steps and used it for every range:

srcset resources that use a fixed-number-of-steps strategy.Some people picked common display widths:

srcset resources scaled to common display widths.At the time, because I was lazy and didn’t like managing many resources, I favored doubling:

srcset resources scaled using a doubling strategy.All of these strategies are essentially arbitrary. Jason thought there had to be a better way. And eventually he realized that we shouldn’t be thinking about these steps in terms of pixels at all. We should be aiming for “sensible jumps in file size”; these steps should be defined in terms of bytes.
For example, let’s say we have the following two JPEGs:
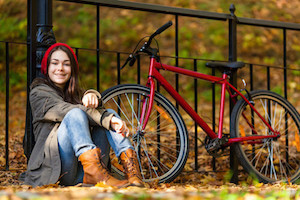
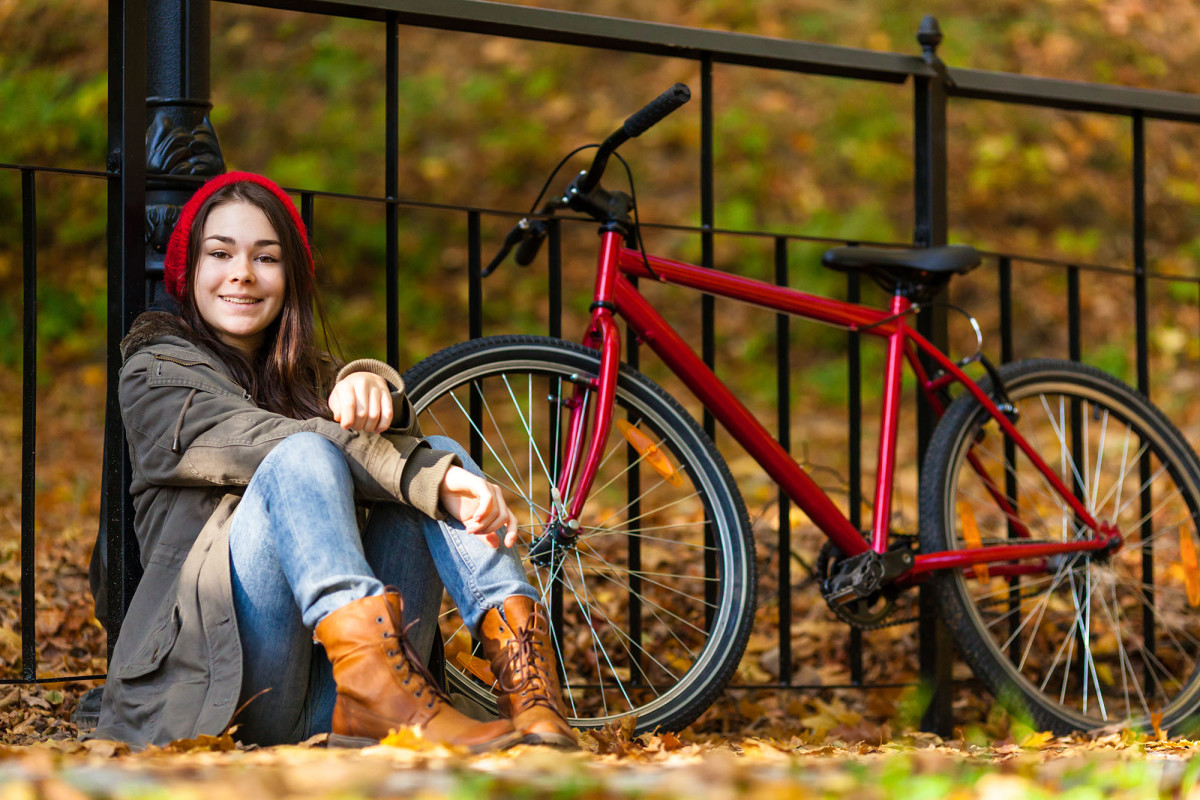
The biggest reason we don’t want to send the 1200-pixel-wide resource to someone who only needs the small one isn’t the extra pixels; it’s the extra 296 KB of useless data. But different images compress differently; while a complex photograph like this might increase precipitously in byte size with every increase in pixel size, a simple logo might not add much weight at all. For instance, this 1000-pixel-wide PNG is only 8 KB larger than the 200-pixel-wide version.
Sadly, there haven’t been any readily useable tools to generate images at target byte sizes. And, ideally, you’d want something that could generate whole ranges of responsive image resources for you — not just one at a time. Cloudinary has built that tool!
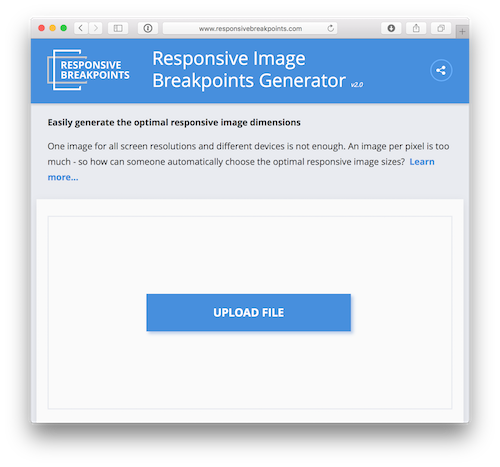
And it has released it as a free open-source web app.
But the people wanted more.
The Next Frontier? Automatic Art Direction!
So, we had built a solution to the breakpoints problem and, in the process, built a tool that made generating resolution-adaptable images easy. Upload a high-resolution original, and get back a fully responsive <img> with sensible breakpoints and the resources to back it up.
That basic workflow — upload an image, get back a responsive image — is appealing. We’d been focusing on the breakpoints problem, but when we released our solution, people were quick to ask, “What else can it do?”
Remember when I said that resolution-based adaptation is what most developers need, most of the time? Sometimes, it’s not enough. Sometimes, we want to adapt our images along an orthogonal axis: art direction.
Any time we alter our images visually to fit a different context, we’re “art directing.” A resolution-adaptable image will look identical everywhere — it only resizes. An art-directed image changes in visually noticeable ways. Most of the time, that means cropping, either to fit a new layout or to keep the most important bits of the image visible when it’s viewed at small physical sizes.
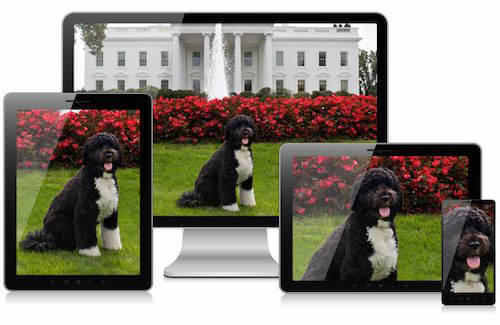
People asked us for automatic art direction — which is a hard problem! It requires knowing what the “most important” parts of an image are. Bits and bytes are easy enough to program around; computer vision and fuzzy notions of “importance” are something else entirely.
For instance, given this image:
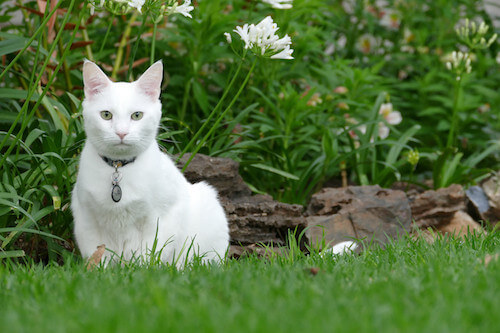
A dumb algorithm might simply crop in on the center:
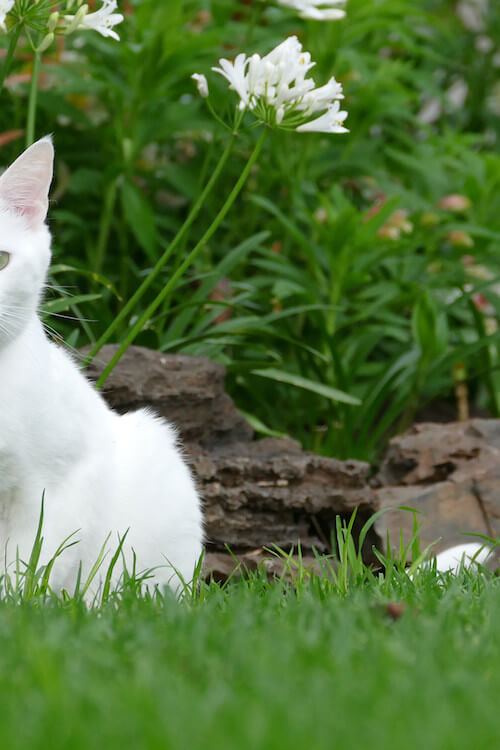
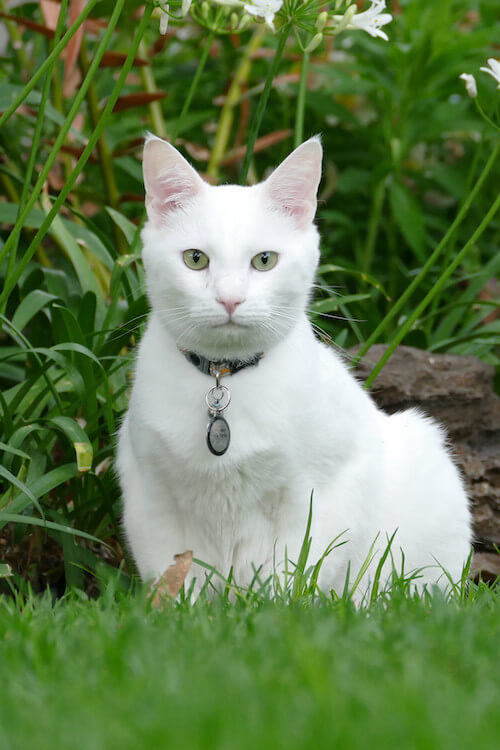
What you need is an algorithm that can somehow “see” the cat and intelligently crop in on it.
It took us a few months but we built this, too, and packaged it as a feature available to all Cloudinary users.
Here’s how it works: When you specify that you want to crop your image with “automatic gravity” (g_auto), the image is run through a series of tests, including edge-detection, face-detection and visual uniqueness. These different criteria are then all used to generate a heat map of the “most important” parts of the image.
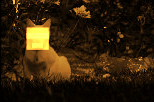
A frame with the new proportions is then rolled over the image, possible crops are scored, and a winner is chosen. Here’s a visualization of the rolling frame algorithm (using a different source image):
Neat!
It was immediately obvious that we could and should use g_auto's smarts to add automatic art direction to the Generator. After a few upgrades to the markup logic and some (surprisingly tricky) UX decisions, we did it: Version 2 of the tool — now with art direction — is live.
Let’s Take A Tour
How do you use the Responsive Image Breakpoints Generator?
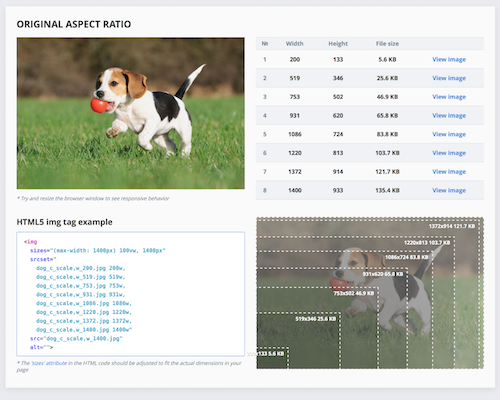
The workflow has been largely carried over from the first version: Upload an image (or pick one of the presets), and set your maximum and minimum resolutions, a step size (in bytes!), and a maximum number of resources (alternatively, you can simply use our pretty-good-most-of-the-time defaults). Click "Generate," et voila! You'll get a visual representation of the resulting image's responsive breakpoints, some sample markup, and a big honkin' "download images" button.
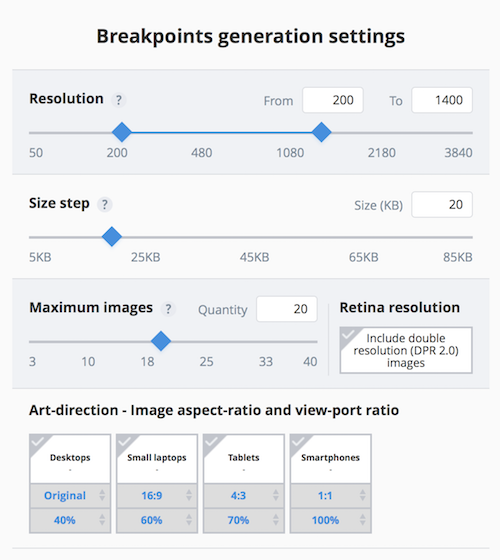
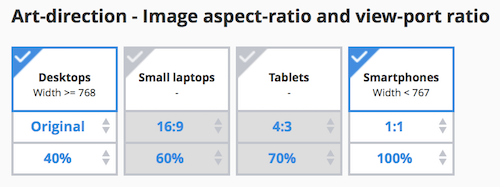
The new version has a new set of inputs, though, which enable art direction. They’re turned off by default. Let’s turn a couple of them on and regenerate, shall we?
The first output section is unchanged: It contains our “desktop” (i.e. full) image, responsively breakpointed to perfection. But below it is a new section, which shows off our new, smartly cropped image:
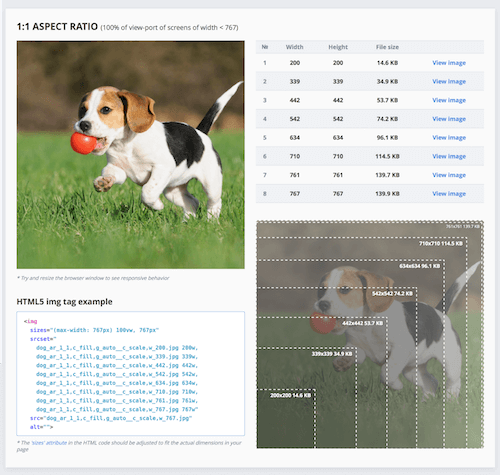
And below that, we now have all of the markup we need for an art-directed `
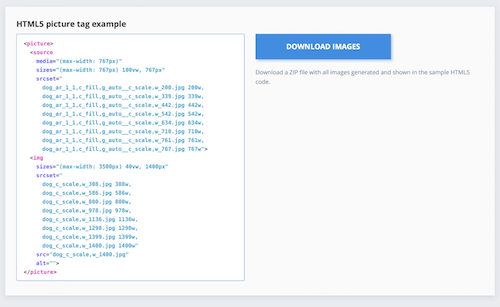
Finally, there's a live `
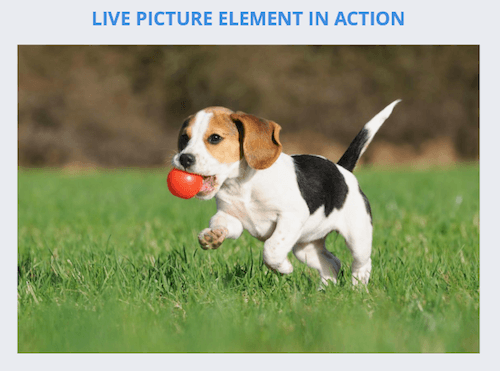
Let’s circle back and look at the art direction inputs in a little more detail.
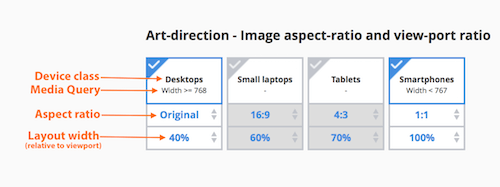
Each big box maps to a device type, and each device type has been assigned a layout breakpoint. The text under the device type’s name shows the specific media query that, when true, will trigger this crop.
Below that, we can specify the aspect ratio that we want to crop to on this device type.
Below that, we specify how wide the image will appear relative to the width of the viewport on this type of device. Will it take up the whole viewport (100%) or less than that? The tool uses this percentage to generate simple sizes markup — which specifies how large the image is in the layout. If you're using this code in production, you'll probably want to go back into the example markup and tailor these sizes values to match your particular layout more precisely. But depending on your layout, inputting rough estimates here might be good enough.
And there you have it: simple, push-button art direction.
Automation
What if you want to work with more than one image at a time? If you're building entire websites with hundreds or thousands (or hundreds of thousands!) of images — especially if you're working with user-generated content — you'll want more than push-button ease; you'll need full automation. For that, there's Cloudinary's API, which you can use to call the smart-cropping and responsive image breakpoints functions that power the Generator, directly. With the API, you can create customized, optimized and fully automated responsive image workflows for projects of any shape or size.
For instance, here’s Ruby code that will upload an image to Cloudinary, smart-crop it to a 16:9 aspect ratio, and generate a set of downscaled resources with sensible responsive image breakpoints:
Cloudinary::Uploader.upload("sample.jpg",
    responsive_breakpoints: {
        create_derived: true,
        bytes_step: 20000,
        min_width: 200,
        max_width: 1000,
        transformation: {
            crop: :fill,
            aspect_ratio: "16:9",
            gravity: :auto
        }
    }
)
If you work only on the front end, all of this functionality is available via URL parameters, too! Here's a URL powered by Client Hints and smart-cropping that does the same thing on download that the Ruby code above does on upload — and it delivers different, dynamically optimized resources to different devices, responsively:
https://demo-res.cloudinary.com/sample.jpg/c_fill,ar_16:9,g_auto,q_auto/w_auto:breakpoints/sample.jpg
A tremendous amount of smarts is packed into that little URL!
Final Thoughts
But back to the Generator. Now, it can do more than "just" pick your image breakpoints — it can pick your art-directed crops, too. And it will generate all of the tedious resources and markup for you; upload one high-resolution original, and get back all of the markup and downscaled resources you need to include a scalable and art-directed image on your web page.
Have I mentioned that the Responsive Image Breakpoints Generator is free? And open-source? Give it a whirl, and please send us feedback. Who knows, maybe we'll be back again soon with version 3!
 (vf, il, al)

 Try ProtoPie AI free →
 Celebrating 10 million developers
 SurveyJS: White-Label Survey Solution for Your JS App

 Register Free Now

